Bathroom Exhaust Fan Replacement: A Guide for Charlotte Homeowners
A loud fan or lingering shower moisture can be a reason to consider a replacement, but a blocked duct may be part of the problem. Before buying a new bathroom or toilet exhaust fan, check the ceiling space, duct path, airflow needs, and fan-and-light controls. Here is what to look at, with photos from a FixCraft VP replacement project.
What this replacement project shows
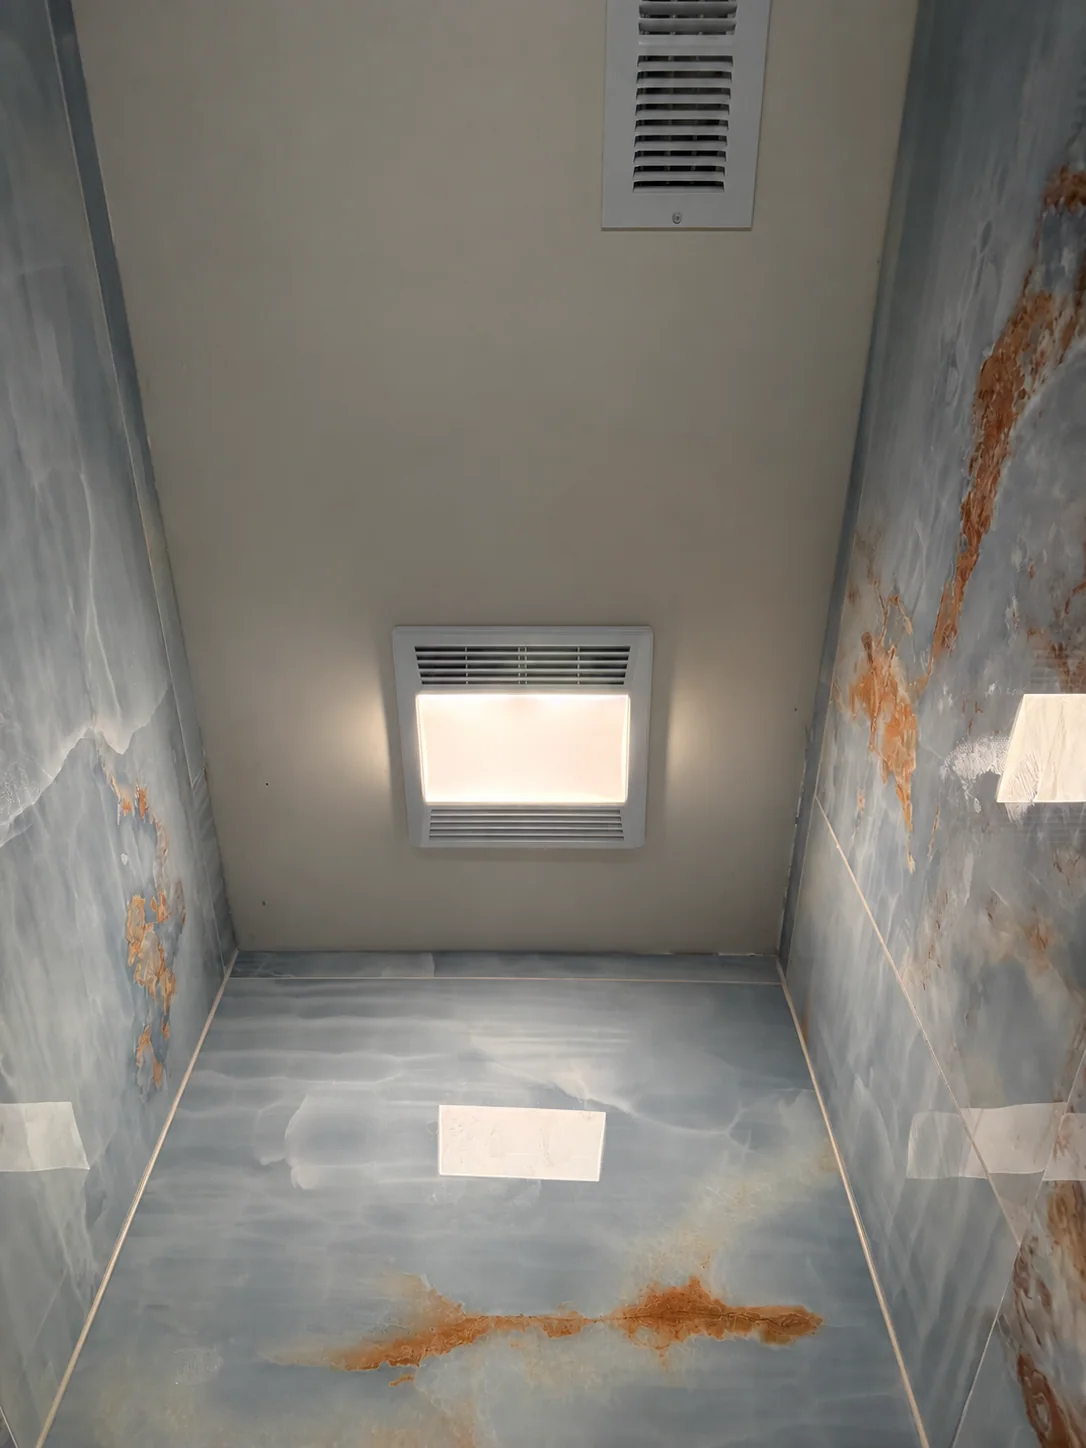
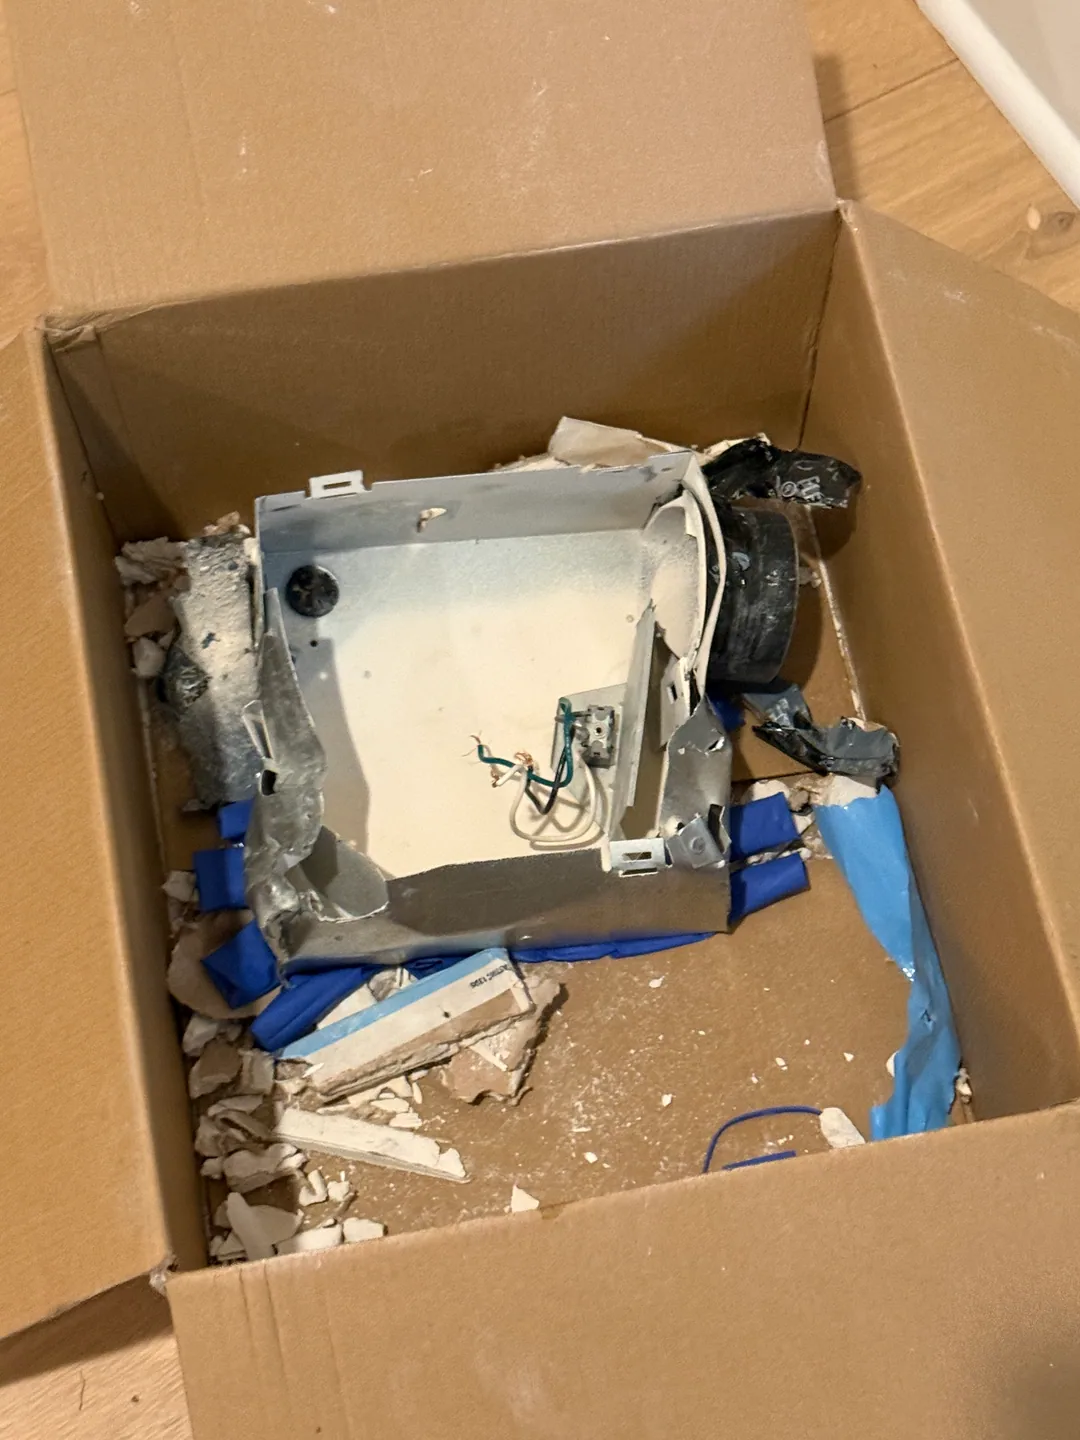
We removed the old fan and installed a new ceiling unit with a built-in light. The new unit is shown above; the removed housing is shown below.
When should you replace a bathroom or toilet fan?
Noise, rattling, a failed motor, lingering odors, or moisture that hangs around after a shower are common reasons to look at a fan. An older fan may also lack the light you want. But weak ventilation does not always mean the motor needs replacing: dust on the grille, a blocked duct, or a poor duct run can also reduce airflow. The cause should be checked before choosing the replacement.
In a separate toilet room, the priority is usually odor removal and a comfortable noise level. In a bathroom with a shower or tub, moisture removal matters too. An enclosed toilet room may need its own exhaust even when there is another fan elsewhere in the bathroom, as the Home Ventilating Institute (HVI) explains.
Choose the fan for the room, not just the grille
Airflow is listed in cubic feet per minute, or CFM. HVI’s bathroom exhaust fan consumer guide recommends at least 50 CFM for a bathroom up to 50 square feet. For a room from 50 to 100 square feet, its starting guideline is about 1 CFM per square foot; larger bathrooms are sized by fixtures. These are selection guidelines, and a restrictive duct can lower the airflow the room actually receives. See HVI’s bathroom exhaust fan guidance for the full sizing method.
Also compare the rated noise level in sones, the ceiling opening, housing depth, duct connection, and whether the light can use the controls you want. A grille that looks the same size can hide a different housing. Buying from the faceplate dimensions alone can turn a straightforward swap into ceiling work.
What makes a replacement straightforward—or more involved?
- Ceiling fit: The new housing needs enough space and support above the ceiling. The existing cutout may need adjustment.
- Duct path: The fan needs a compatible duct that exhausts outdoors. A disconnected, crushed, or undersized run can defeat an otherwise good fan.
- Access: Attic access, ceiling height, and nearby framing affect removal and installation.
- Light and switches: A fan-and-light unit may run from one control or separate controls, depending on the existing wiring and the selected model.
If the ceiling has water stains, peeling paint, or soft material, identify the moisture source as part of the plan. A new fan alone will not repair existing damage or a roof or plumbing leak.
What the replacement involves
- Inspect and measure. Note the room size, existing opening, housing, duct connection, ceiling access, and current controls before selecting a model.
- Turn off power and remove the old unit. Take down the grille and housing carefully, protecting the ceiling edge and nearby finishes.
- Fit and secure the new housing. Adjust the opening if the new unit requires it, and mount the housing as its instructions specify.
- Connect the duct and existing power. Attach the fan to a suitable exhaust path. Connect the fan and light to the available power and switch arrangement according to the chosen unit’s instructions.
- Finish and check operation. Install the grille and light components, then confirm that the controls, light, fan, and airflow work as expected.
The exact sequence and materials depend on the fan model and what is above the ceiling. A like-for-like housing replacement is a different scope from adding a light, changing controls, or correcting a duct problem.
After installation: give the fan time to work
Run the fan during a shower and leave it on afterward so damp air has time to clear. HVI suggests about 20 minutes after bathing as a useful starting point. A timer or humidity control can make that easier, if the chosen unit and controls support it. Keep the grille clean, and pay attention if airflow or noise changes later.
Planning a bathroom fan replacement in Charlotte?
Start by sending FixCraft VP your ZIP code and photos of the existing fan and switches. Room dimensions, a link to a replacement model you like, and the duct exit location are helpful if you have them. We can review the fit and scope before giving you a project estimate.
See our general handyman work and lighting services, or Send photos and request an estimate.