Shutter Installation in Ballantyne: Replacing Faded Vinyl Shutters on Brick
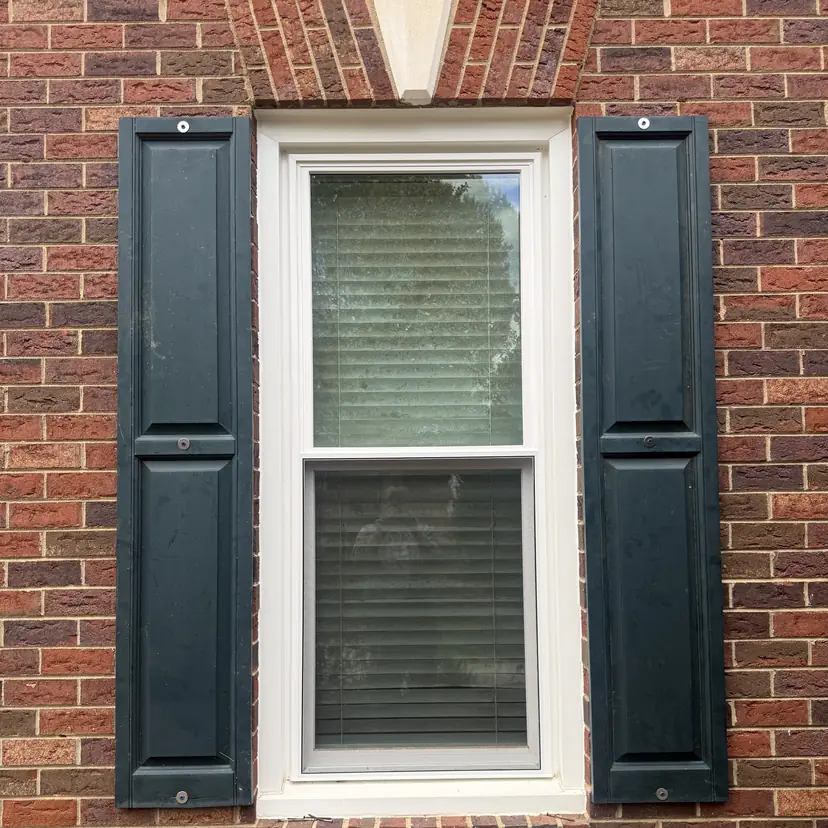
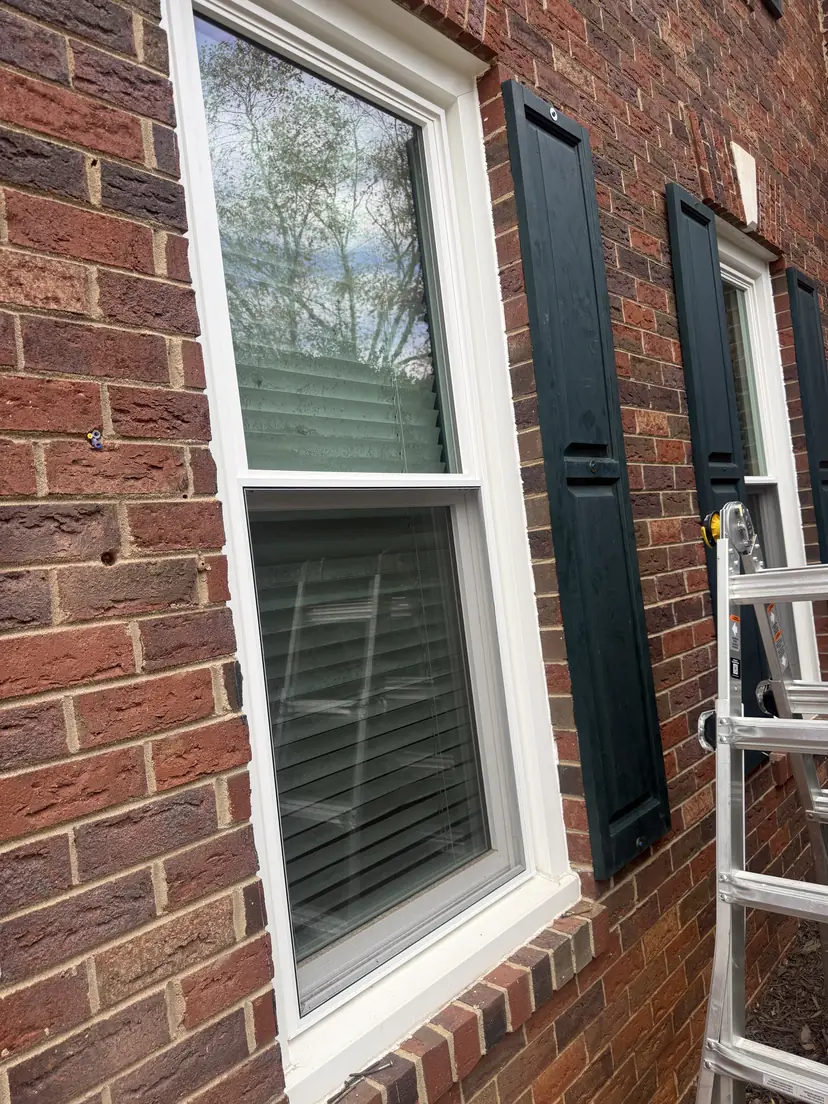
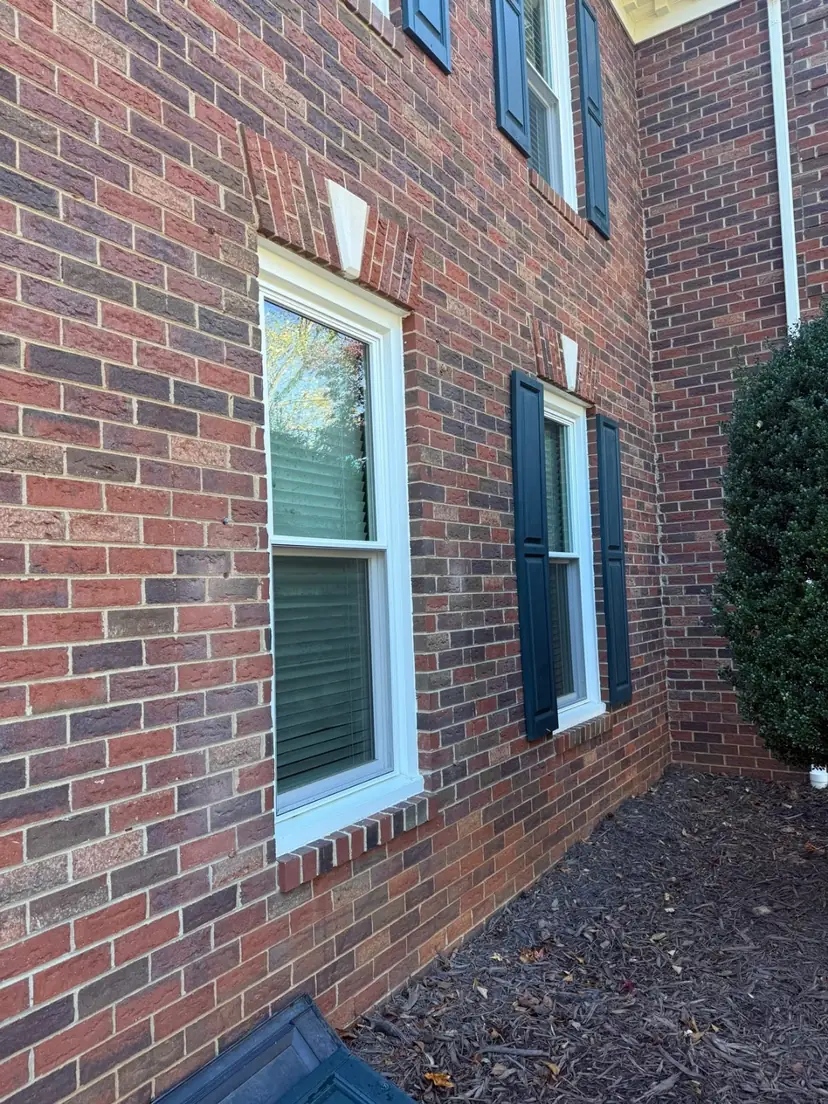
Faded shutters can make a brick house look tired even when the brick itself looks good. On this job in Ballantyne, Charlotte, NC, we removed old faded green vinyl shutters and installed new dark green raised-panel shutters on a red-brick two-story home. The installation involved working from a ladder and fastening the new shutters into the brick with shutter fasteners.
When does a shutter need replacing?
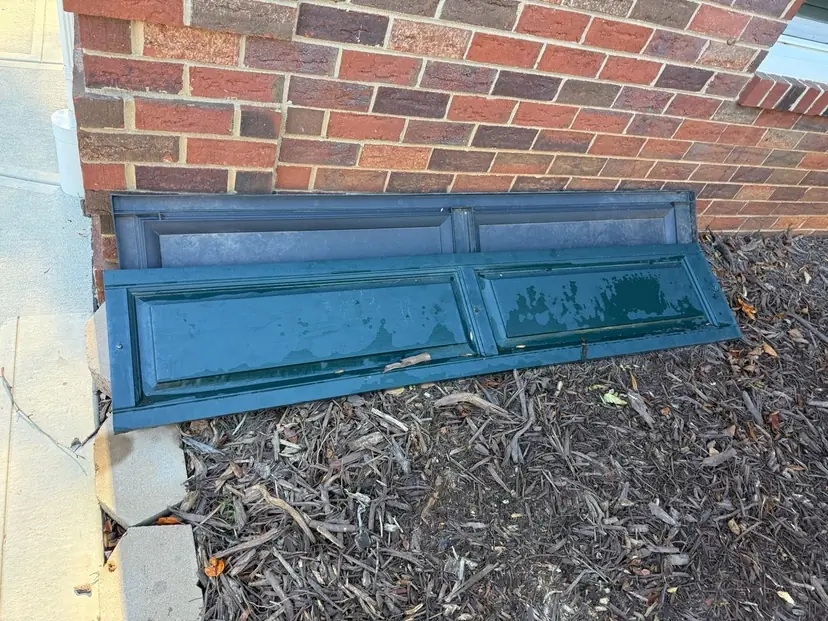
Start with its shape and attachment, then look at the finish. Fading alone may be a cosmetic issue. A chalky surface suggests that the exposed finish has weathered, but it does not tell you whether the shutter is still sound. Warping or bowing, splits around mounting holes, and cracked or loose fasteners deserve a closer look before you decide to repaint.
Check the wall behind it too. Stained brick can become visible when a shutter comes off; cleaning may belong in the scope, and a stain should not automatically be treated as proof of a leak. If the shutter is distorted or the mounting points are damaged, fresh paint will not correct those problems. Replacement gives you a chance to assess both the shutter and its attachment.
Size shutters to the window opening
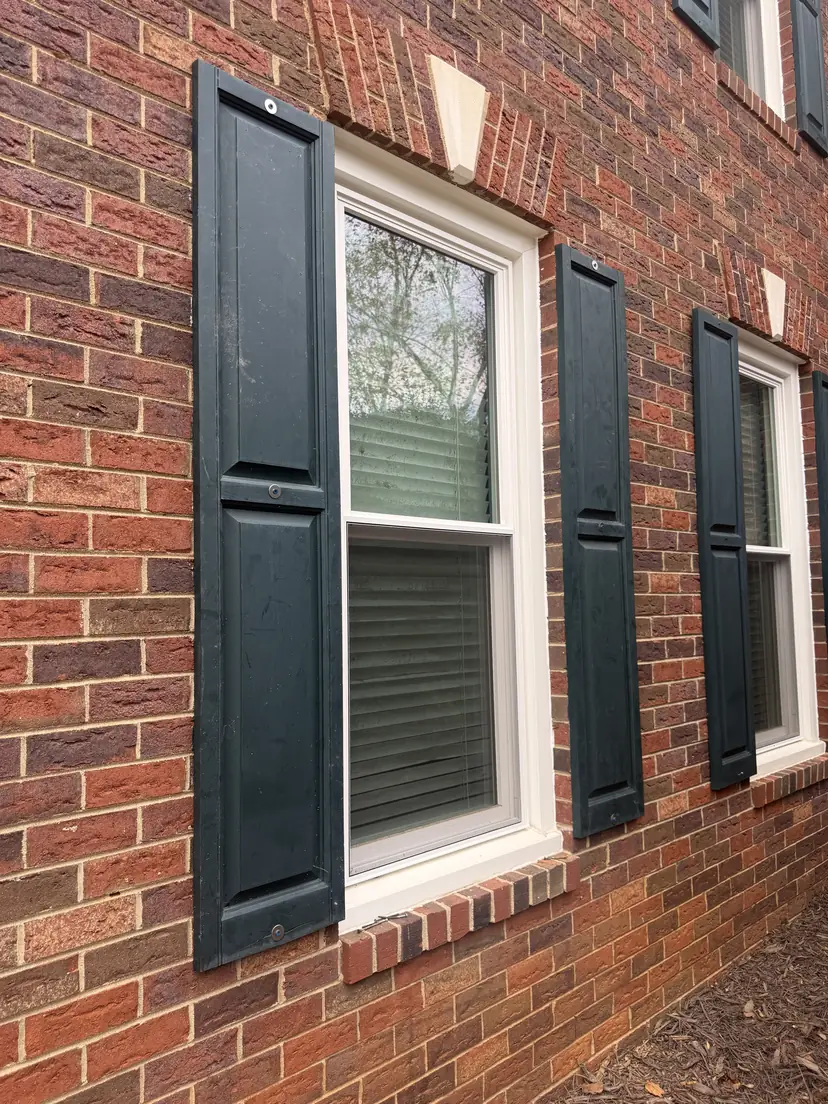
A shutter should look as though it belongs to the window. As a visual starting point, match its height to the window opening and make each shutter roughly half the window width, so the pair looks as though it could close over it. Decorative shutters do not actually have to operate, but that proportion helps them look intentional.
Measure each opening rather than assuming every window is identical. Trim, arches, grouped windows, and limited space between openings can change what fits. Photograph the whole window and surrounding wall before ordering. The size printed on an old shutter is useful information, but it is worth checking whether that size suits the opening in the first place.
Raised-panel or louvered?
Raised-panel shutters have solid-looking sections with defined borders. Louvered shutters use repeated horizontal slats and create a different shadow pattern. Both can work with brick; the choice depends on the window proportions, the surrounding trim, and the look you want across the front of the house.
This home received dark green raised-panel shutters. When choosing replacements, compare the style and color against the brick in daylight. Check any applicable neighborhood requirements before buying, and keep the style consistent across windows that are seen together.
Fastening into brick is different from siding
For masonry, mounting normally involves pre-drilled holes and shutter fasteners suitable for the product and wall. Depending on the manufacturer’s instructions and the condition of the masonry, the fixing may go into mortar or brick. Hole diameter, depth, and placement matter. On this Ballantyne job, the new shutters were fastened into the brick with shutter fasteners.
On a sided home, the fastener generally passes through the siding into suitable sheathing or backing, following the shutter and siding instructions. Vinyl siding needs room to move: tightening a shutter against it too hard can crush or distort the surface. Existing holes are only useful if their position and condition suit the replacement.
What a shutter replacement visit includes
A replacement scope starts with removing the old shutters and assessing the exposed mounting points. Cleaning and filling unused fastener holes can be included where appropriate; the material and finish should suit the wall. Those details need to be agreed before new shutters cover the area.
The new shutters are positioned beside the openings, checked for level and consistent spacing, then fastened according to the product instructions. Cleanup includes collecting the removed fasteners and drilling debris. This is the kind of exterior task covered by our general handyman service; photos help separate a straightforward replacement from work that needs additional wall repair.
Upper-story windows need an access check
Height changes the job. We assess ladder access, ground conditions, obstacles, and whether the shutter can be handled safely at each window. A clear photo from ground level helps with planning, but access still needs to be assessed on site. Please take estimate photos from a safe position; there is no need to climb for a close-up.
Planning shutter replacement in Ballantyne?
Send a photo of each window and rough window measurements through our Photo Estimate, or contact FixCraft VP. Include a wider view showing the height and ground below, plus any replacement shutters you have selected.
We handle handyman work in Ballantyne. Tell us which shutters need replacing so we can review the scope and access with you.