Wooden Backyard Playhouse Assembly: A Real Kit Build
A backyard playhouse looks simple in the product photo. In the box, it is a collection of wall panels, framing pieces, roof parts, and small details that all need to come together. FixCraft VP assembled this wooden playhouse kit, and these photos show the work from upright wall panels to the finished structure. We help Charlotte-area homeowners assemble playhouse kits and other small projects like this one.
The build, one stage at a time
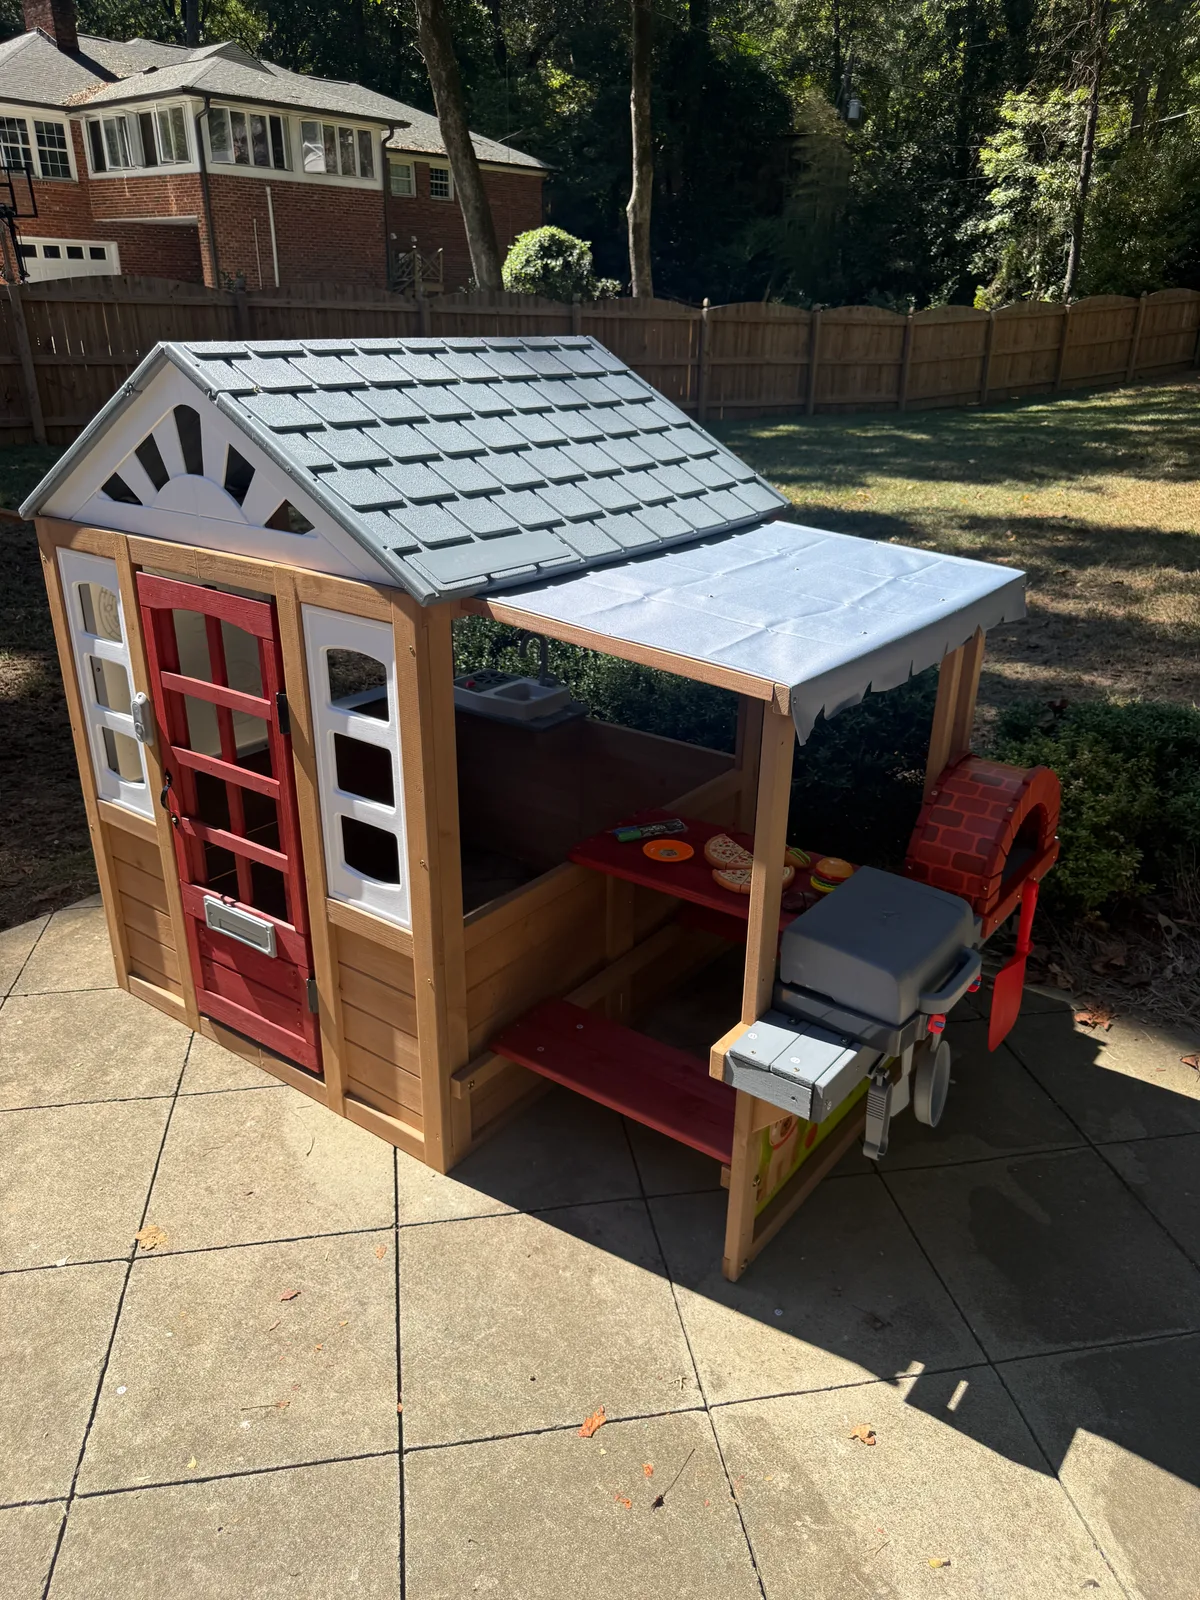
In the early progress photo below, the wall panels are joined and standing upright. Roof sections, door and window pieces, and other parts are laid out nearby. The basic shape is there, but the roof, canopy, and play accessories still need to be added. It is a useful look at how much assembly sits behind a single product photo.
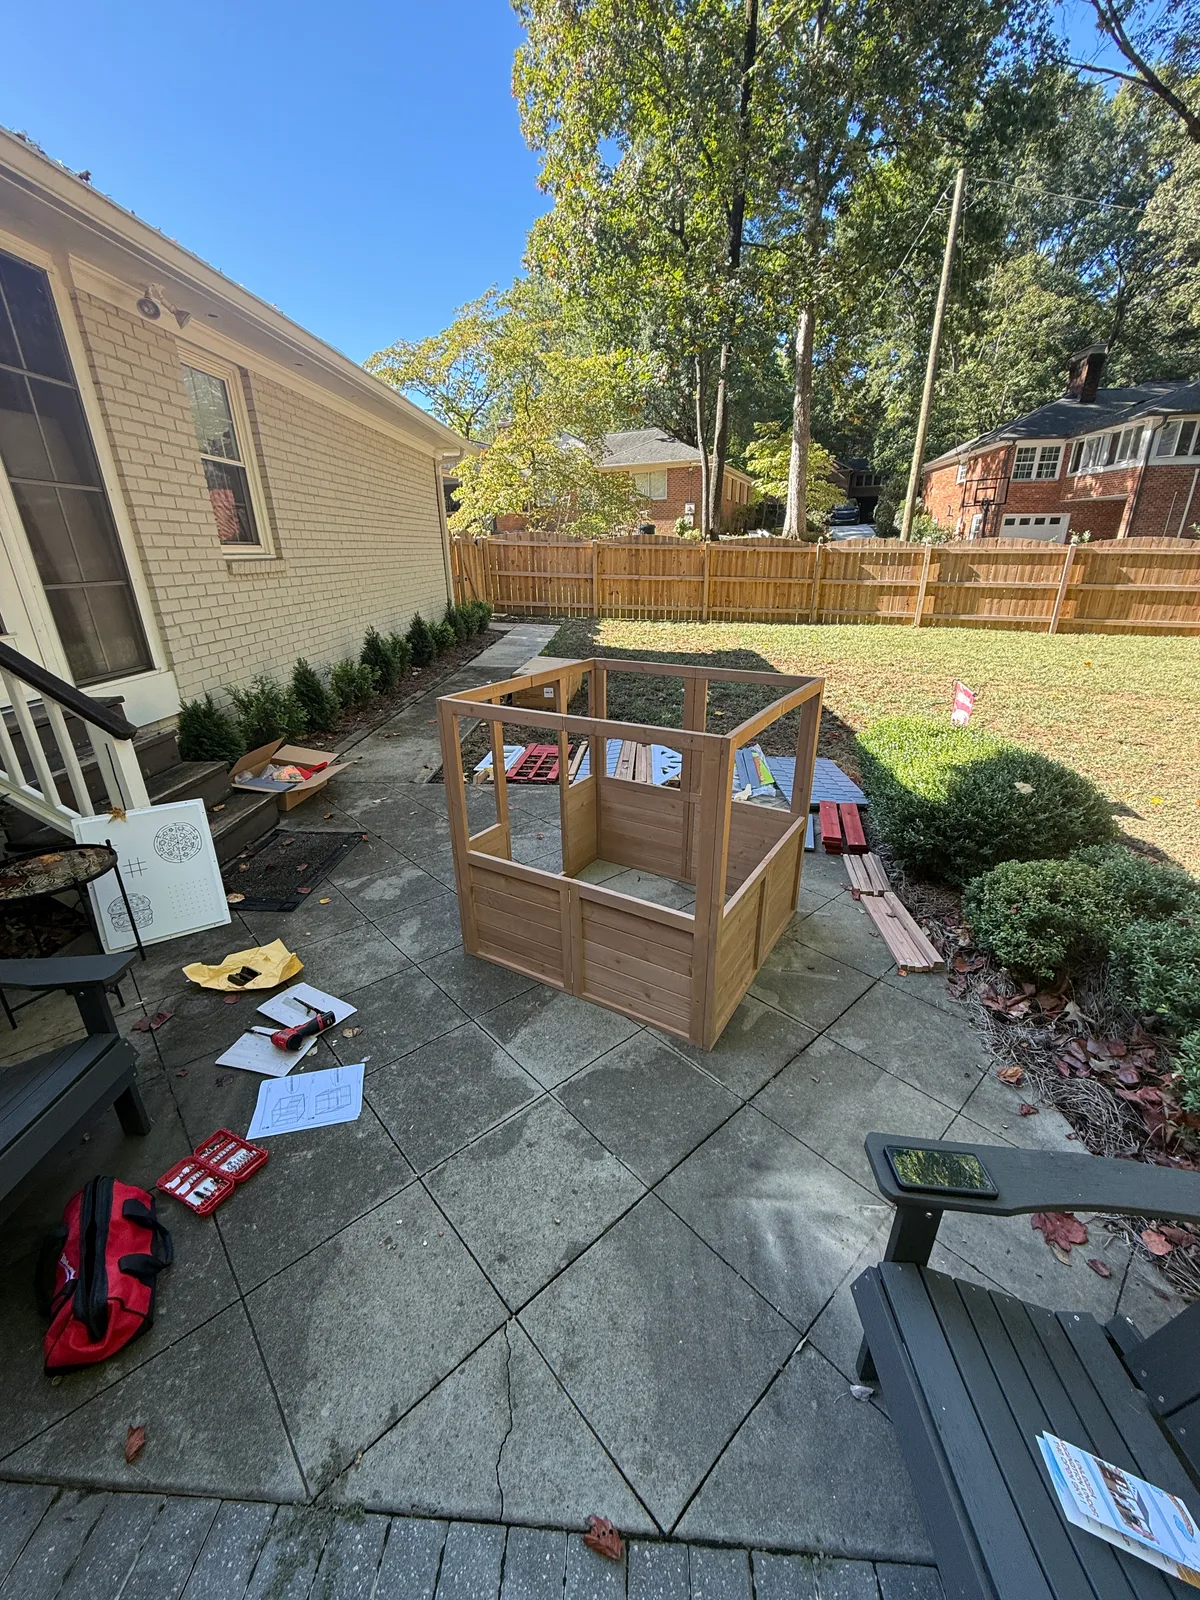
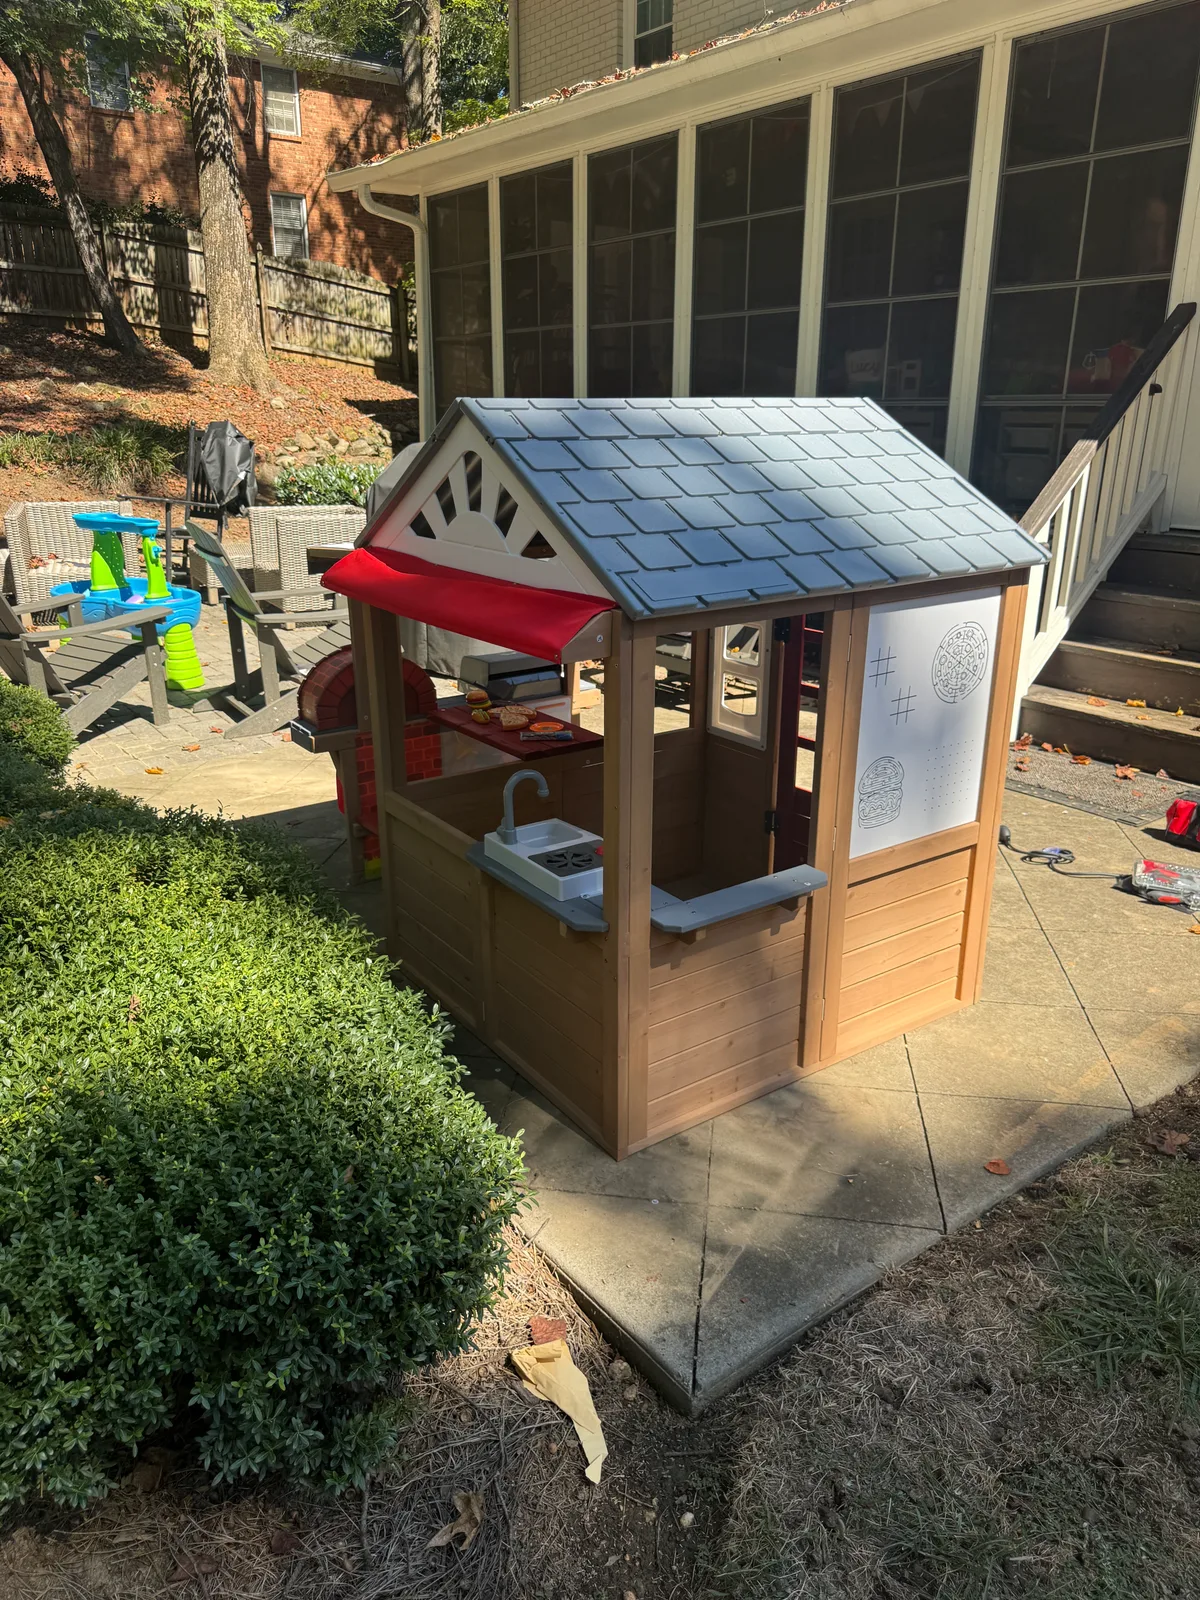
In the next progress photo, the canopy frame extends from the main walls. Its posts and crosspieces form the covered area beside the playhouse. Together, the photos show the upright walls, the canopy frame in progress, and the completed roof, door, cover, and play details.
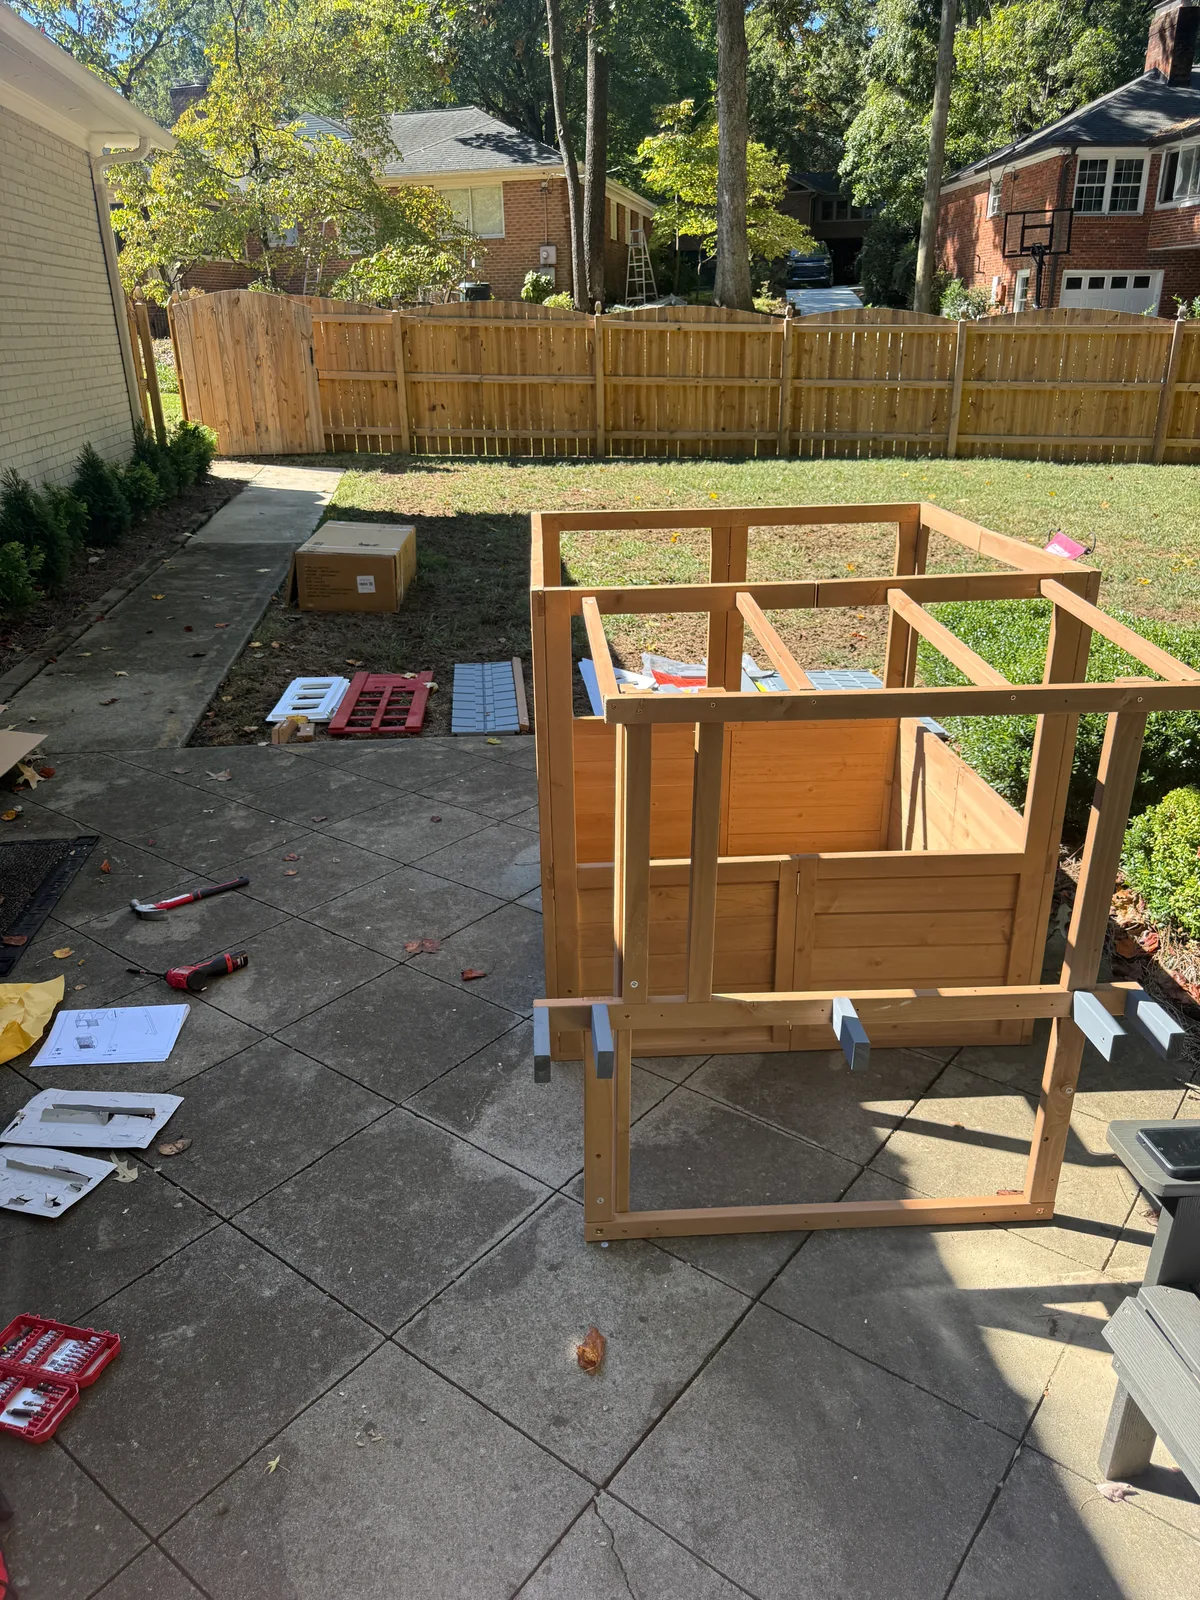
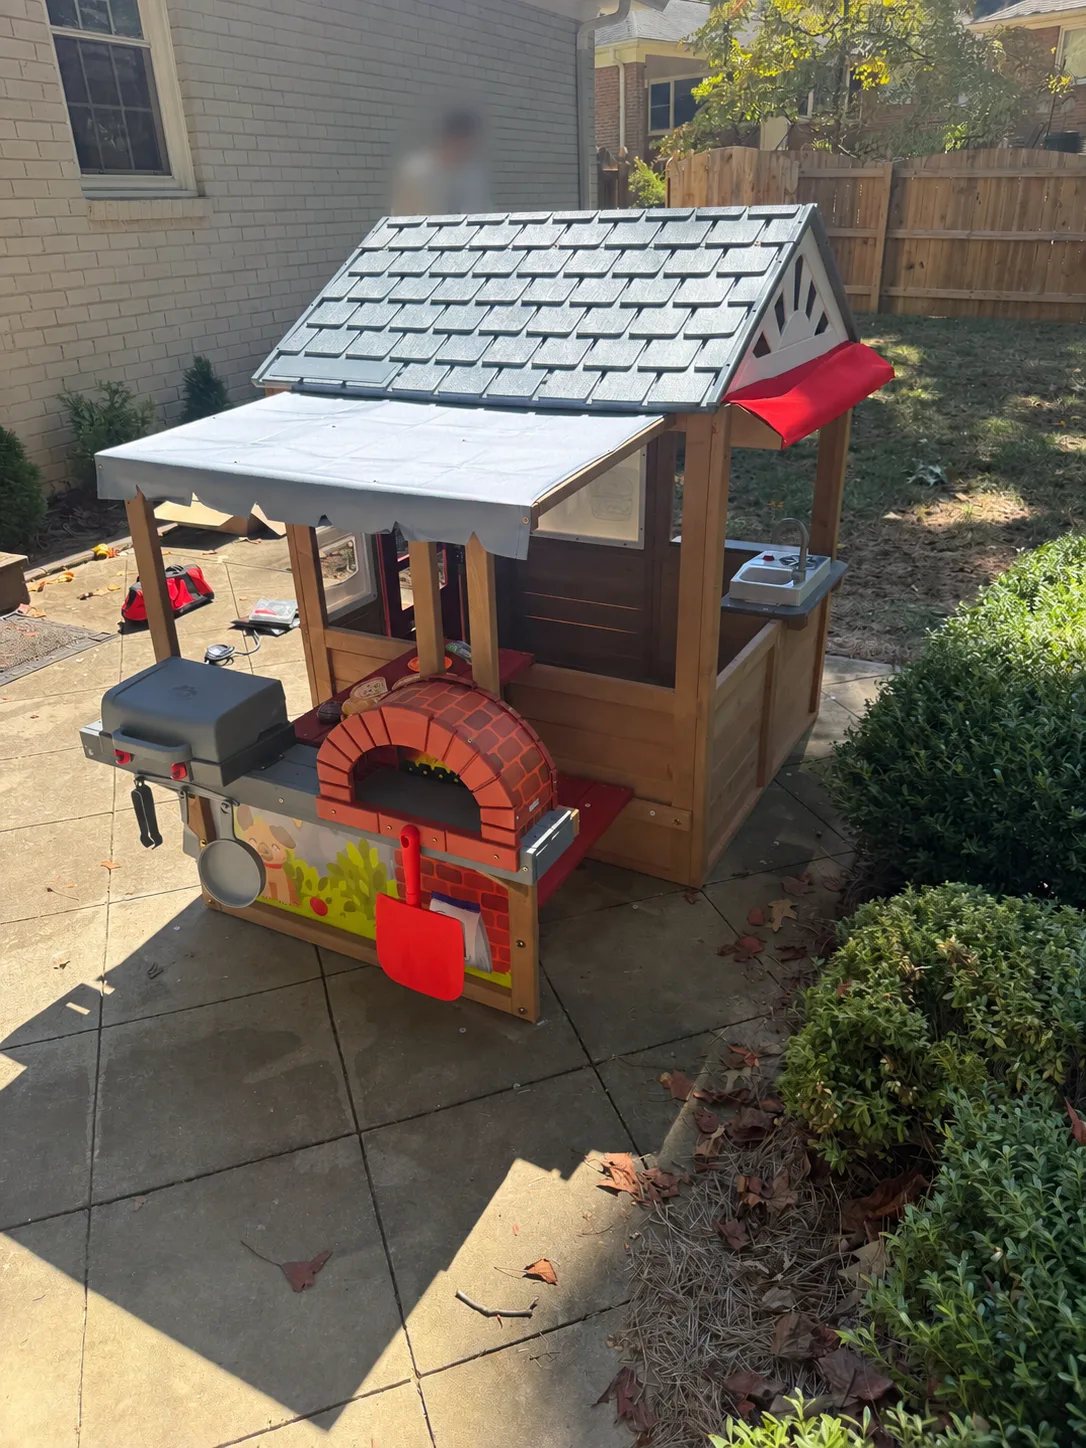
The finished kit has more than four walls and a roof. A pretend-play grill and pizza oven sit under the canopy, while the other side has a toy sink and game panel. These smaller pieces give the playhouse its character and add to the fitting work.
What changes the scope of a playhouse assembly?
Two playhouses that look similar online can arrive very differently. One may use larger prebuilt panels; another may have more individual pieces. Roof and canopy details, attached play accessories, and the instructions supplied with the kit all affect the work. So do the condition of the delivered parts and access to the spot where the playhouse will go.
For an outdoor kit, the intended surface and any base or anchoring requirements in the manufacturer’s instructions need to be part of the plan. Those details depend on the product and the site. If a base, ground preparation, or anchoring is needed, include it in the request so the quote can address it separately from assembling the kit.
A link to the exact product gives us a better starting point than a stock image of a similar model. It also helps us spot details that might otherwise be missed until the boxes are open.
What to send when you ask for a quote
- The exact kit: Send the product link or a photo of the box label, plus the assembly manual if you have it.
- The intended location: Include your ZIP code, the kit’s dimensions, and a few photos of the spot where it will go.
- Delivery and access: Let us know whether the boxes have arrived and how far the parts must be carried.
- The condition of the parts: Mention any missing or damaged pieces, or whether assembly has already been started.
- Additional work: Tell us about any requested base, ground preparation, or manufacturer-specified anchoring.
You do not need a polished project brief. Clear photos and the exact product information let us ask useful follow-up questions. If the kit has not arrived yet, send the link first so we can discuss the scope before scheduling.
DIY or help with assembly?
DIY can make sense when you have the tools, space to lay out the parts, and time to follow the instructions carefully. Hiring help takes the sorting, fitting, and assembly off your list. Keep the product manual for its placement, use, and maintenance directions, including any age and capacity limits.
Other small assembly projects
The same conversation often starts with a different box: ready-made furniture, a shelving or organizer kit, or patio furniture. Our furniture assembly service is a starting point for those jobs. You can also see our patio furniture assembly guide or explore our general handyman services for other small projects around the home.
Send the product details and a photo of the intended location. Wall-mounted pieces, outdoor placement, and products with special hardware each affect what the job involves.
Have a playhouse kit waiting to be assembled?
FixCraft VP helps Charlotte-area homeowners turn boxed kits into finished projects. Call or text (980) 201-6705, or send us your project details. Share the kit link, your ZIP code, and a few photos of the assembly spot so we can discuss the work and provide an estimate.